Change a grinder setting and keep a useful record
Read the grinder instructions, record the starting setting and make a traceable adjustment.
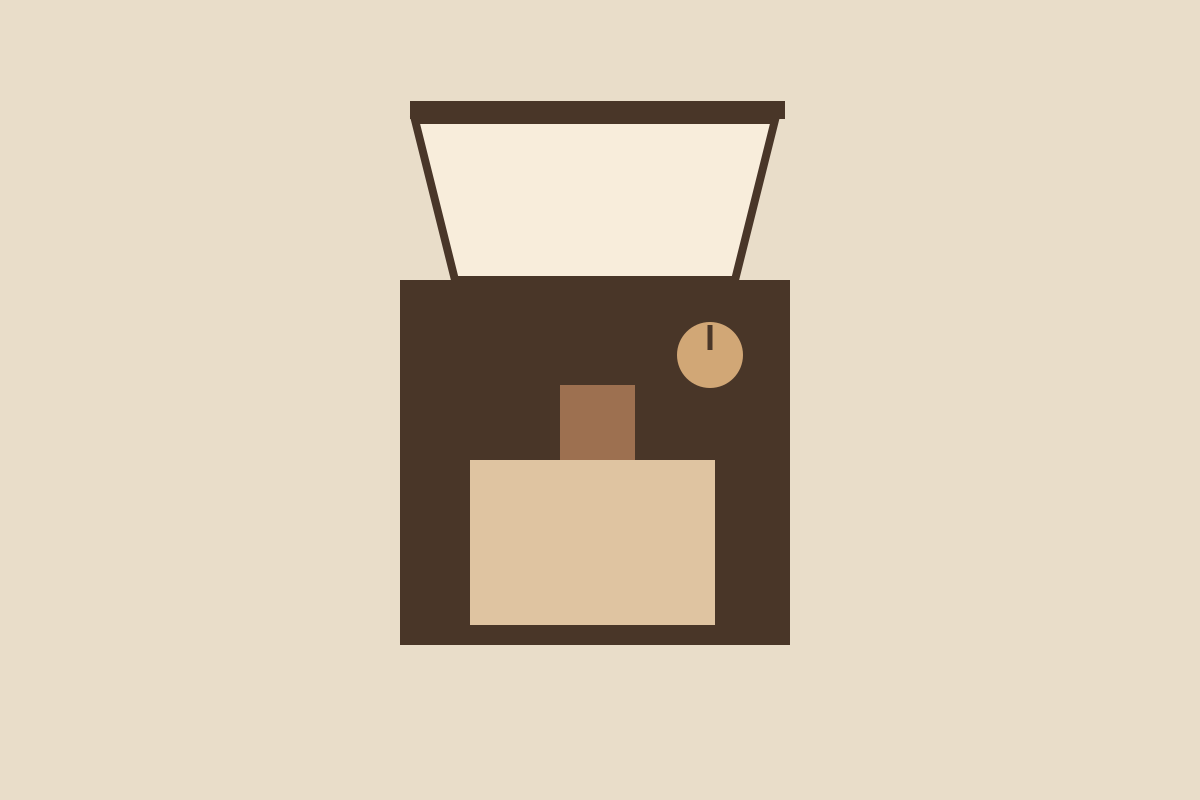
A note saying ‘setting 12’ is incomplete without the grinder model. Dial numbers are references on a particular machine, not a standard grind size shared across brands. Record the model and starting setting before making a change.
Record the starting point
Write down the coffee, brewing method, dose and water mass alongside the setting. If the grinder has separate coarse and fine adjustment controls, record both. A phone photo can help preserve a dial position that is hard to describe.
Check the manual for which direction is finer. Do not infer it from whether the number rises or falls. Adjustment systems vary, and some have calibration steps that change what a displayed setting means.
Check how adjustment works
Baratza’s adjustment guide advises running its grinders during significant moves towards a finer setting, because trapped coffee can resist the change. That is manufacturer guidance, not permission to apply the same procedure to every grinder.
Follow the instructions for your model, including any restrictions on adjustment. Keep fingers and tools out of the grinder. If a control resists, stop and check the manual rather than forcing it.
Compare one change
Baratza also notes that retained grounds can carry some of the previous setting into the next dose. Follow your maker’s advice for handling that transition. Record it if the first batch after adjustment may contain a mixture.
Keep the dose, water and brewing method the same while assessing the new setting. Note what changed in the cup in your own words. If you change the coffee and brewer at the same time, the result cannot tell you much about the dial adjustment alone.